README.md
# chat.io
[](https://www.versioneye.com/user/projects/57d746d1df40d0004a4a9e21)
[](https://scrutinizer-ci.com/g/OmarElGabry/chat.io/?branch=master)
[](https://codeclimate.com/github/OmarElGabry/chat.io)
[](https://app.fossa.io/projects/git%2Bgithub.com%2FOmarElGabry%2Fchat.io?ref=badge_shield)
A Real Time Chat Application built using Node.js, Express, Mongoose, Socket.io, Passport, & Redis.
## Index
+ [Demo](#demo)
+ [Features](#features)
+ [Installation](#installation)
+ [How It Works](#how-it-works)
+ [Support](#support)
+ [Contribute](#contribute)
+ [License](#license)
## Demo<a name="demo"></a>
Check [Demo](http://chatio.herokuapp.com/)
## Features<a name="features"></a>
+ Uses Express as the application Framework.
+ Manages Sessions using [express-session](https://github.com/expressjs/session) package.
+ Authenticates via username and password using [Passport](https://github.com/jaredhanson/passport).
+ Passwords are hashed using [bcrypt-nodejs](https://github.com/shaneGirish/bcrypt-nodejs) package.
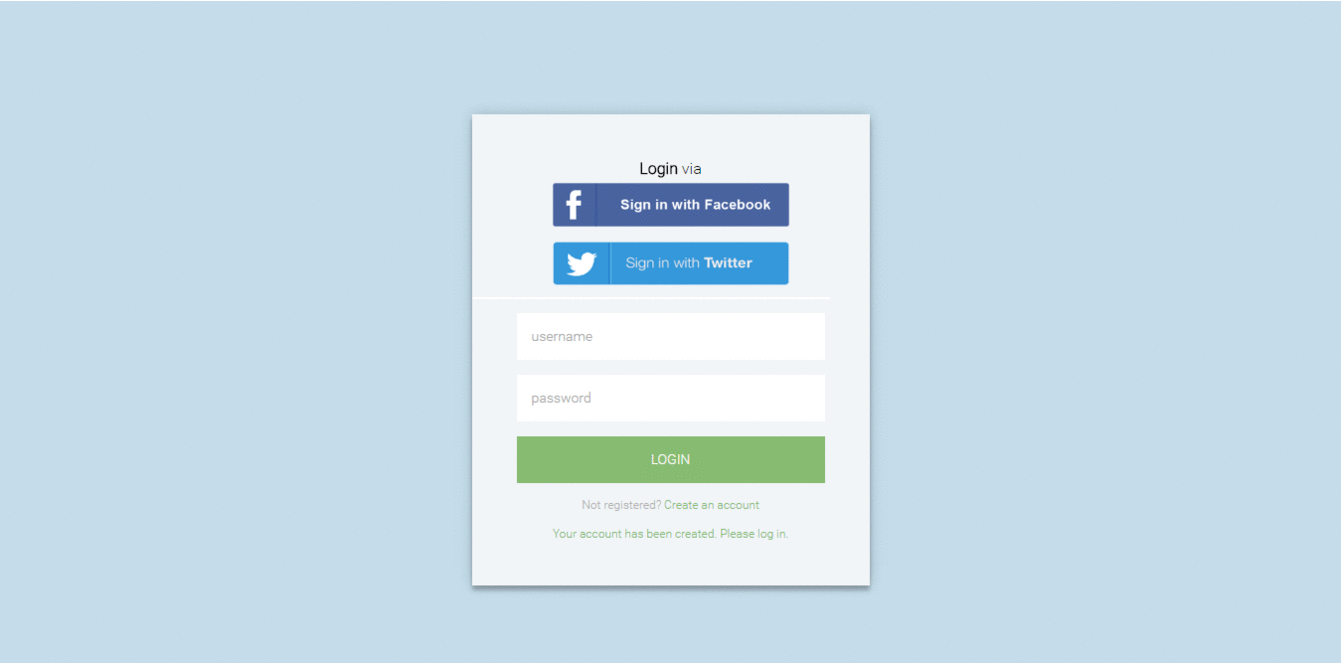
+ Social Authentication via Facebook and Twitter using [Passport](https://github.com/jaredhanson/passport).
+ Real-time communication between a client and a server using [Socket.io](https://github.com/socketio/socket.io).
+ Uses [MongoDB](https://github.com/mongodb/mongo), [Mongoose](https://github.com/Automattic/mongoose) and [MongoLab(mLab)](https://mlab.com/) for storing and querying data.
+ Stores session in a [MongoDB](https://github.com/mongodb/mongo) using [connect-mongo](https://github.com/kcbanner/connect-mongo); a MongoDB-based session store.
+ Uses [Redis](https://github.com/antirez/redis) as an Adapter for [Socket.io](https://github.com/socketio/socket.io).
+ Logging Errors and Exceptions using [Winston](https://github.com/winstonjs/winston).
## Installation<a name="installation"></a>
### Running Locally
Make sure you have [Node.js](https://nodejs.org/) and [npm](https://www.npmjs.com/) installed.
1. Clone or Download the repository
```
$ git clone https://github.com/OmarElGabry/chat.io.git
$ cd chat.io
```
2. Install Dependencies
```
$ npm install
```
2. Edit configuration file in _app/config/config.json_ with your credentials(see [Setup Configurations](#configurations)).
3. Download and Install [Redis](http://redis.io/download).
4. Running Redis Server(as Admin)
```
$ redis-server
```
5. Start the application
```
$ npm start
```
Your app should now be running on [localhost:3000](http://localhost:3000/).
### Deploying to Heroku
Make sure you have the [Heroku Toolbelt](https://toolbelt.heroku.com/) installed.
1. Create a new Heroku application, and push your chat application to a Git remote repository
```
$ heroku create
$ git push heroku master
```
or
[](https://heroku.com/deploy)
2. Now, you need to set up configuration variables on Heroku.
1. Go to Settings -> Reveal Config Vars.
2. Add configuration variables. All needed variables are inside _app/config/index.js_.
Typically, these are the configuration variables you need to assign:
```{ dbURI, sessionSecret, facebookClientID, facebookClientSecret, twitterConsumerKey, twitterConsumerSecret }```(see [Setup Configurations](#configurations)).
3. One last step is to add [Redis](http://redis.io/) as an Add-on on Heroku.
1. Go to Resources -> Add-ons
2. Select Heroku Redis
> You need to setup a billing account even if the add-on is free.
4. Open your chat application in the browser
```
$ heroku open
```
## How It Works<a name="how-it-works"></a>
### Setup Configurations<a name="configurations"></a>
The configurations on production will be assigned from Environment Variables on Heroku, while the development configurations reside inside _app/config/config.json_ file.
#### MongoDB & MongoLab
You need to create a database on MongoLab, then create a database user, get the `MongoDB URI`, and assign it to `dbURI`.
#### Facebook & Twitter
You need to register a new application on both Facebook and Twitter to get your tokens by which users can grant access to your application, and login using their social accounts.
##### Registering the app on Facebook
1. Go to [Facebook Developers](https://developers.facebook.com/)
2. Add new app, and fill the required information.
3. Get your `App ID`, `App Secret`.
4. Go to Add Product -> Facebook Login -> Valid OAuth redirect URIs
5. Add Valid Callback URIs
6. Go to App Review -> Make your application public.
Now, you can assign the `App ID` to `facebookClientID`, and `App Secret` to `facebookClientSecret`.
##### Registering the app on Twitter
1. Go to [Twitter Apps](https://apps.twitter.com/)
2. Create new app, and fill the required information.
3. Add Website & Callback URL
4. Get your `Consumer Key`, `Consumer Secret`.
Now, you can assign the `Consumer Key` to `twitterConsumerKey`, and `Consumer Secret` to `twitterConsumerSecret`.
##### The Callback URL
- It can point back to your localhost; _[http://localhost:3000/auth/facebook/callback](http://localhost:3000/auth/facebook/callback)_
- When deploy to Heroku, you will have something look like this; _[http://my-chat-app.herokuapp.com/auth/facebook/callback](http://my-chat-app.herokuapp.com/auth/facebook/callback)_
#### Session
The session needs a random string to make sure the session id in the browser is random. That random string is used to encrypt the session id in the browser, _Why?_ To prevent session id guessing.
### Database<a name="database"></a>
Mongoose is used to interact with a MongoDB that's hosted by MongoLab.
#### Schemas
There are two schemas; users and rooms.
Each user has a username, passowrd, social Id, and picture. If the user is logged via username and password, then social Id has to be null, and the if logged in via a social account, then the password will be null.
Each room has a title, and array of connections. Each item in the connections array represents a user connected through a unique socket; object composed of _{userId + socketId}_. Both of them together are unique.
### Models<a name="models"></a>
Each model wraps Mongoose Model object, overrides and provides some methods. There are two models; User and Room.
### Session<a name="session"></a>
Session in Express applications are best managed using [express-session](https://github.com/expressjs/session) package. Session data are stored locally on your computer, while it's stored in the database on the production environment. Session data will be deleted upon logging out.
### User Authentication<a name="auth"></a>
User can login using either a username and password, or login via a social account. User authentication is done using [Passport](https://github.com/jaredhanson/passport). Passport has extensive, and step-by-step [documentation](http://passportjs.org/docs/) on how to implement each way of authentication.
### Sockets<a name="sockets"></a>
Having an active connection opened between the client and the server so client can send and receive data. This allows real-time communication using TCP sockets. This is made possible by [Socket.io](https://github.com/socketio/socket.io).
The client starts by connecting to the server through a socket(maybe also assigned to a specific namespace). Once connections is successful, client and server can emit and listen to events.
There are two namespaces used; `/rooms` and `/chatroom`.
### Logger<a name="logger"></a>
And It doesn't go without saying, you need to monitor your application. [Winston](https://github.com/winstonjs/winston) can log and catch Uncaught Exceptions. All logs are displayed in the console, and saved in _debug.log_ file.
On Heroku, you can monitor the logs by clicking on _More -> View Logs_ on the top left of your application dashboard.
## Support <a name="support"></a>
I've written this script in my free time during my studies. If you find it useful, please support the project by spreading the word.
## Contribute <a name="contribute"></a>
Contribute by creating new issues, sending pull requests on Github or you can send an email at: omar.elgabry.93@gmail.com
## License <a name="license"></a>
Built under [MIT](http://www.opensource.org/licenses/mit-license.php) license.
[](https://app.fossa.io/projects/git%2Bgithub.com%2FOmarElGabry%2Fchat.io?ref=badge_large)