README.md
# Adminable
[](https://badge.fury.io/rb/adminable)
[](https://travis-ci.org/droptheplot/adminable)
[](https://codeclimate.com/github/droptheplot/adminable)
[](https://codeclimate.com/github/droptheplot/adminable/coverage)
[](https://gemnasium.com/github.com/droptheplot/adminable)
Simple admin interface for Ruby on Rails applications.
## Features
* Built with common Rails controllers and views without DSL.
* Supports namespaced models.
* Has simple search with [Ransack](https://github.com/activerecord-hackery/ransack).
* Uses [Bootstrap](https://github.com/twbs/bootstrap) 4.0.
* Handles a lot of associations with [Clusterize.js](https://github.com/NeXTs/Clusterize.js).
* Has built-in WYSIWYG editor [TinyMCE](https://github.com/tinymce/tinymce).
* Mobile friendly.

## Installation
Add this line to your application's Gemfile:
```ruby
gem 'adminable'
```
And then execute:
```bash
$ bundle
```
Or install it yourself as:
```bash
$ gem install adminable
```
## Getting Started
First things first. Add routes and create `adminable/application_controller.rb` class using generator:
```bash
rails g adminable:install
# => create app/controllers/adminable/application_controller.rb
# => insert config/routes.rb
```
### Generating Resources
Assume you have model `User`, then run:
```bash
rails g adminable:resource users
# => create app/controllers/adminable/users_controller.rb
```
For namespaced models, like `Blog::Post`, use:
```bash
rails g adminable:resource blog/posts
# => create app/controllers/adminable/blog/posts_controller.rb
```
### Customizing Fields
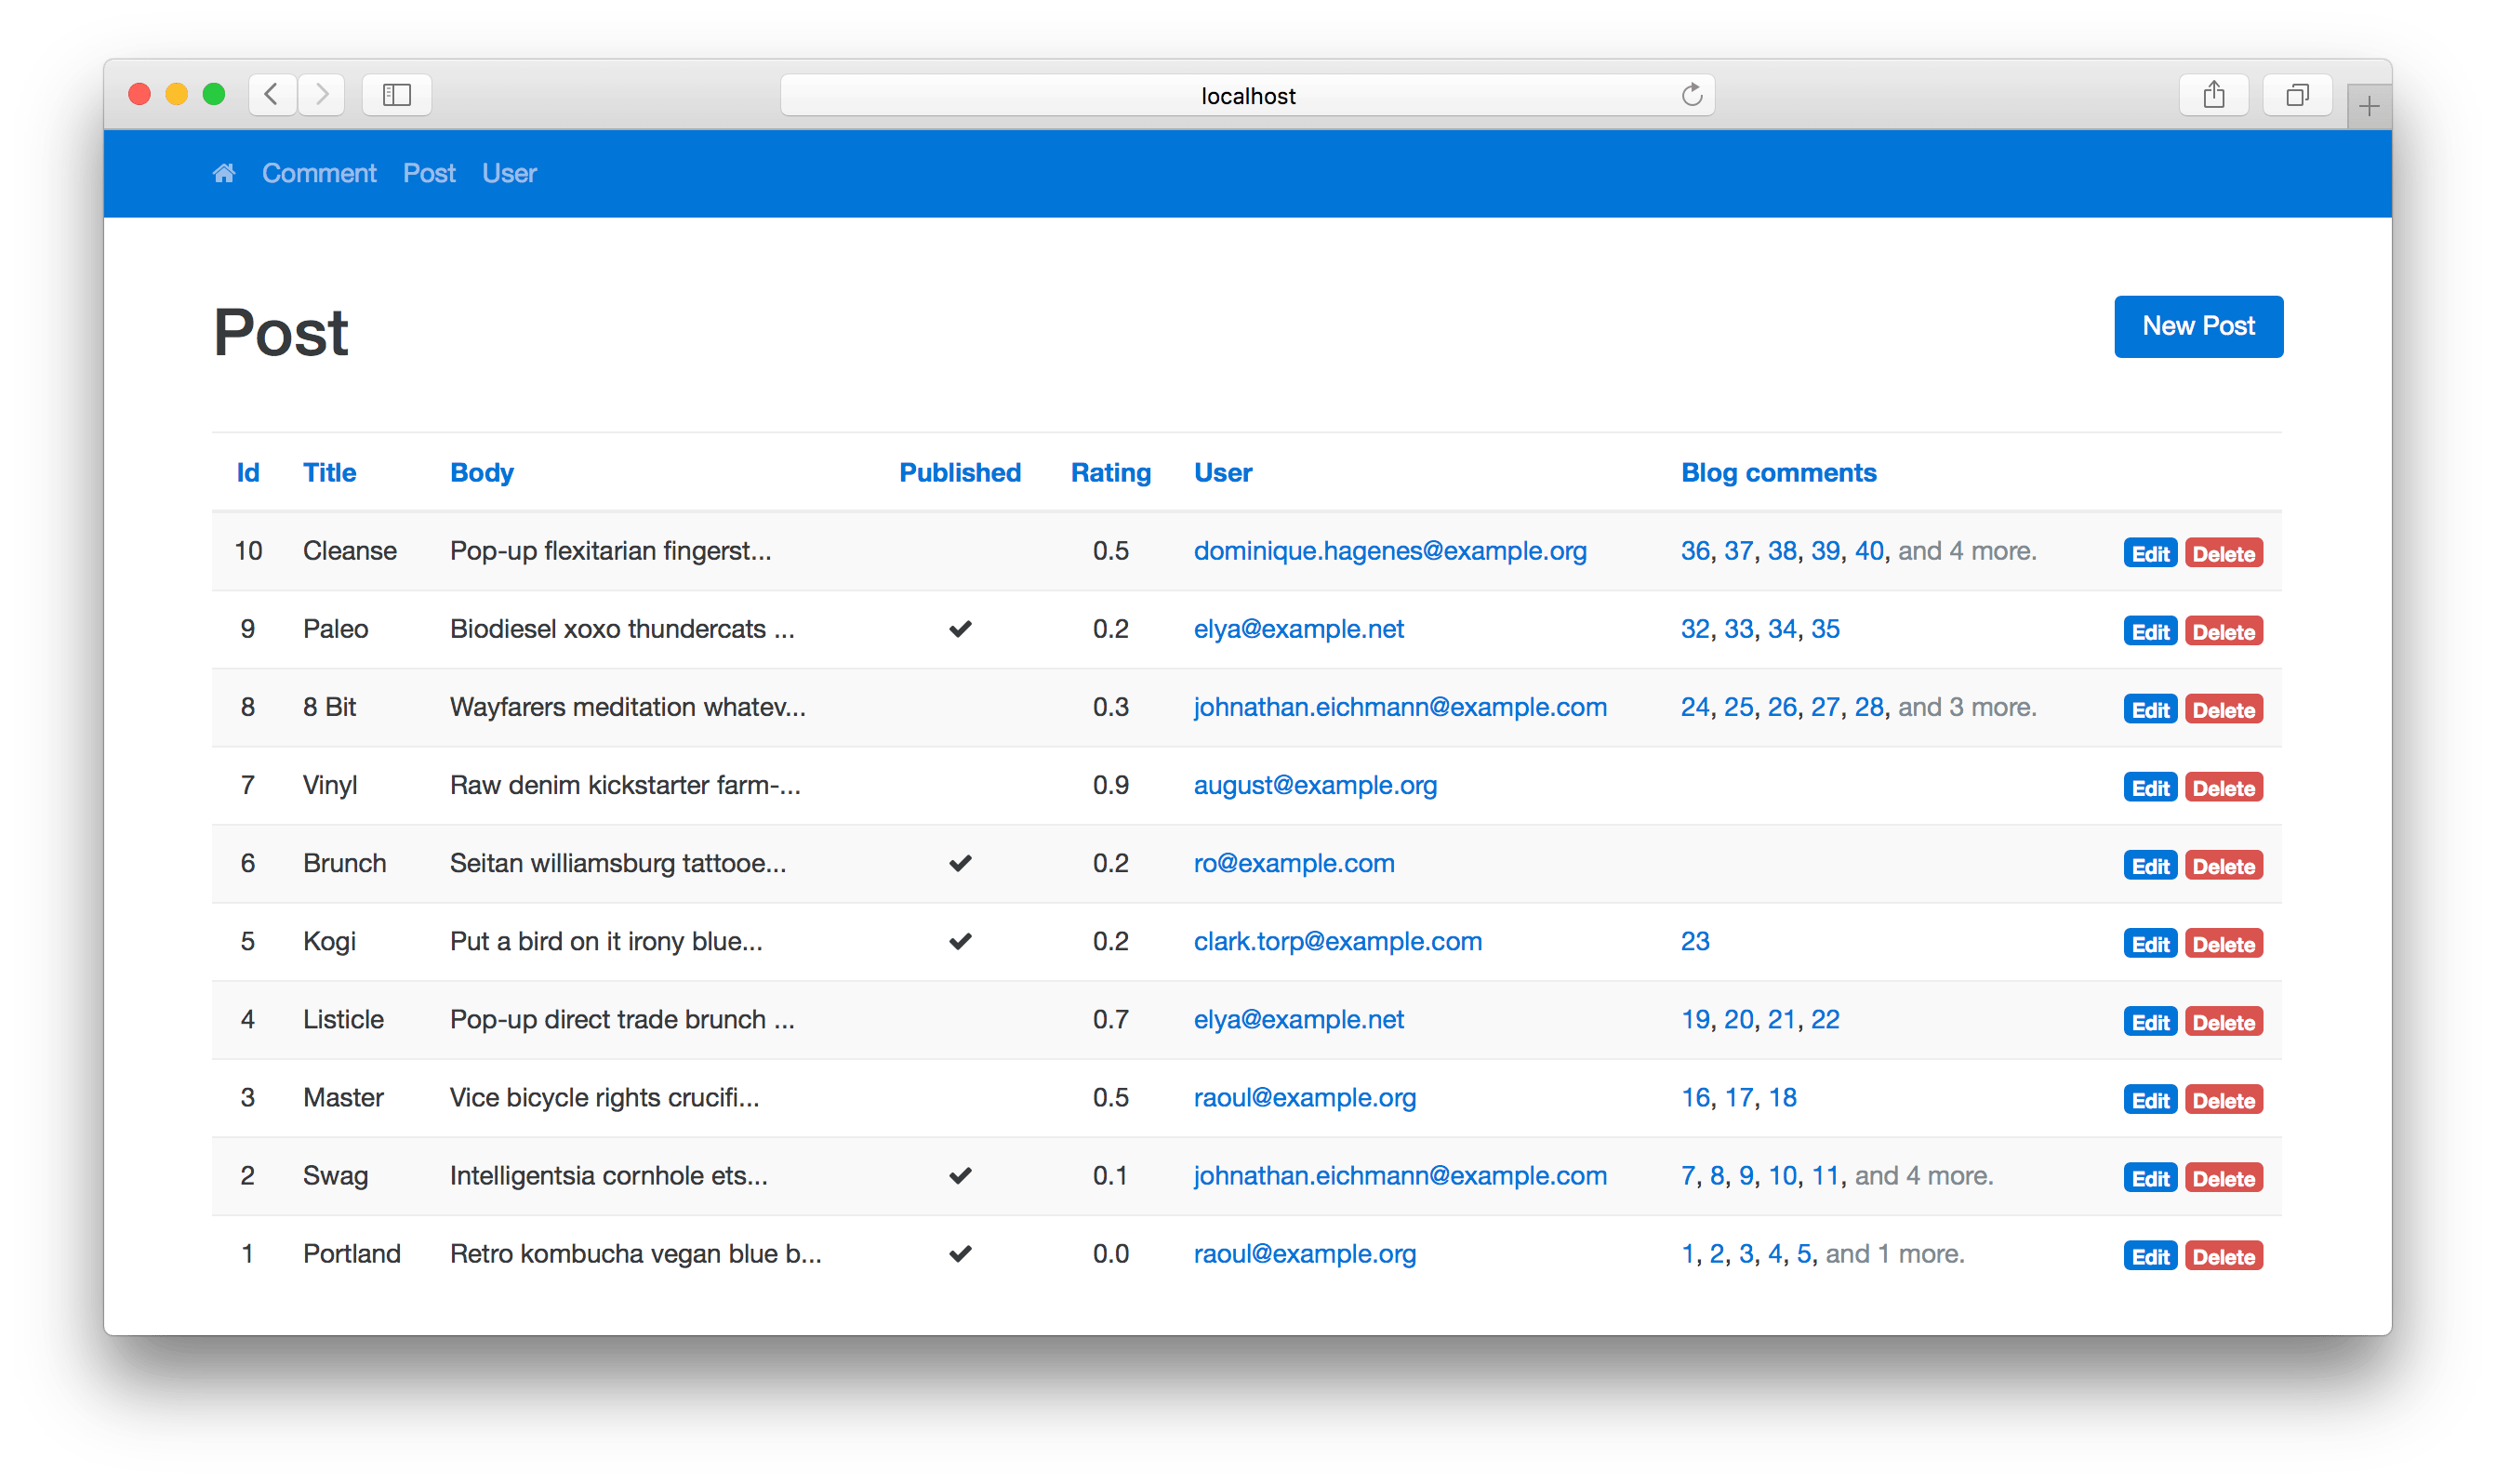
Change fields as you like inside `fields` method array:
```ruby
class Adminable::Blog::PostsController < Adminable::ResourcesController
def fields
[
Adminable::Fields::Integer.new(:id, form: false),
Adminable::Fields::String.new(:title),
Adminable::Fields::Text.new(:body),
Adminable::Fields::Float.new(:rating, form: false),
Adminable::Fields::Boolean.new(:published),
Adminable::Fields::BelongsTo.new(:user),
Adminable::Fields::HasMany.new(:blog_comments)
]
end
end
```
### Fields Parameters
#### index
`true` or `false`, default: `true`.
Shows field on index page.
#### form
`true` or `false`, default: `true`.
Shows field on new/edit page.
#### center
`true` or `false`, default `true` for `integer`, `boolean`, `float` and `decimal` fields, `false` otherwise.
Adds `text-align: center` for field value on index page.
#### search
`true` or `false`, default: `false`.
Enables search for this field.
### See Also
* Configured controller for Devise model: [app/controllers/adminable/users_controller.rb](https://github.com/droptheplot/adminable/blob/master/spec/dummy/app/controllers/adminable/users_controller.rb)
## Built-in Fields
* String
* Text
* Integer
* Float
* Decimal
* Date
* DateTime
* Time
* Timestamp
* Boolean
* Belongs To
* Has Many
## Generating Partials
You can use generator to copy original partial to your application.
`rails g adminable:partial [layout] [type] [resource]`
* `layout` - `index` or `form`.
* `type` - `string`, `text` etc. See [Built-in Fields](#built-in-fields).
* `resource` - Use controller name (e.g. `users`) to replace partial only for single controller or leave blank to replace partials for all controllers.
## F.A.Q
##### If model to_param method was overridden
```ruby
class Adminable::Blog::PostsController < Adminable::ResourcesController
def set_entry
entry = @resource.model.find_by(slug: params[:id])
super
end
end
```
## Contributing
1. Fork it (https://github.com/droptheplot/adminable/fork)
2. Create your feature branch (git checkout -b my-new-feature)
3. Commit your changes (git commit -am 'Add some feature')
4. Push to the branch (git push origin my-new-feature)
5. Create new Pull Request
## License
The gem is available as open source under the terms of the [MIT License](http://opensource.org/licenses/MIT).