README.md
# shmile is a nodejs-based photobooth.
[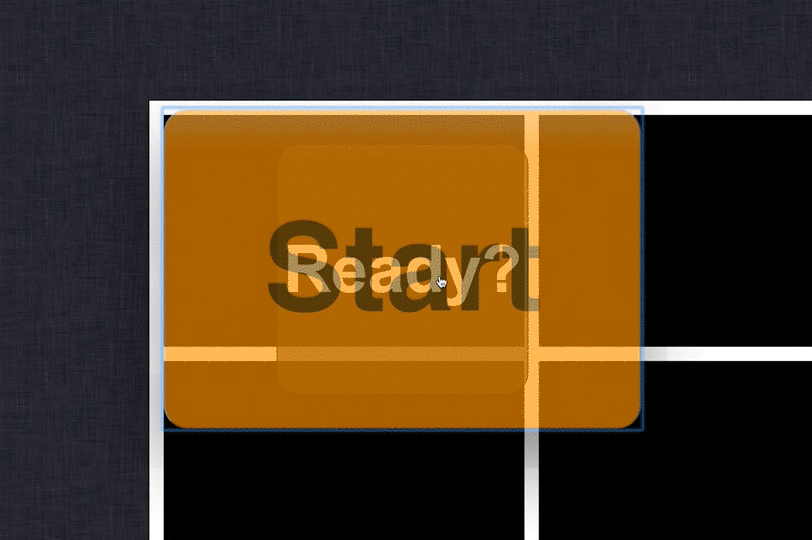](https://gyazo.com/f26fb9f246d92d92b1d4e3f008ba9d7d)
[](https://travis-ci.org/porkbuns/shmile)
[](https://codeclimate.com/github/porkbuns/shmile)
With your digital camera, a laptop and a printer, you can have your own DIY low-cost photobooth.
### Before you get started
#### Overlay
Create your own custom overlay. Make sure it is a 4x6 crop factor, save it as a 24-bit transparent PNG. See `public/images/overlay.png` for an example.
It is recommended that this overlay image is 2400x1600px large.
When you are done, save your overlay resource into `public/images/overlay.png`.
#### Camera Tips
* Mount the camera on a steady tripod.
* It helps to set your camera on manual focus and on its lowest resolution. This reduces shutter lag time.
* Make sure your flash is charged. If it is not, the camera will wait until the flash charges before firing the shutter, making very awkward, long pauses for your guests to be smiling.
#### Printer
By default, shmile does not try to print to a printer. However, should
you decide to use one (I personally use a Canon CP770), it should be
relatively simple to set up.
1. Make sure your printer is set as the system default.
2. When booting your server, be sure to supply a `PRINTER=true`
environment variable. For example:
$ PRINTER=true coffee app.coffee
### Deploying/running
#### Server instance
The server is responsible for controlling the camera, and serving the Web interface that users will see. Here we assume that you already have [Homebrew](http://brew.sh/) installed and running on your Mac.
##### Install node & npm
$ brew install node
Note that `shmile` officially supports Node `v0.12`, `4.2`, and `5.0`.
##### Install imagemagick
$ brew install imagemagick
##### Install [`gphoto2`](http://www.gphoto.org/proj/gphoto2/)
$ brew install gphoto2
##### Install gulp, coffee-script globally (if you haven't already)
$ npm install -g gulp coffee-script
##### Install bower
$ npm install -g bower
##### Get the project running.
Go to project root. We assume that you've checked out this repo into `/path/to/shmile`.
$ cd /path/to/shmile
$ npm install
$ bower install
$ coffee app.coffee
The server should begin running.
#### Configuration variables
* `PRINTER=true` causes shmile to queue up a print job to your default
printer as soon as a photo session is complete.
* `STUB_CAMERA=true` allows you to not use the camera control interface.
You should only need this feature when you are actually developing on
shmile.
### Control view
This is a Web browser that displays the camera control interface, and shows the visitor the real-time creation of the image. For simple deployments, this can simply be on the same computer that is running the server.
1. Navigate to `localhost:3000` in a evergreen Web browser (Chrome and Safari latest recommended).
2. If you want to use an iPad to display this interface, you'll need to have the laptop and iPad connected to the same network. Open Safari on iPad, and type in `<computer-name>:3000` to the Address Bar. Tap the `Go To` button in the Safari bar, and save the app to your home screen (see: http://www.apple.com/iphone/tips/).
3. On your iPad Home Screen, open the "shmile" app you've just created.
### Gallery view
This is a Web browser instance that displays a view of all the generated images taken so far.
1. With the server already running on another browser instance, visit `http://localhost:3000/gallery` (or `<server_address>:3000/gallery` if you're connecting over a network)
2. If you're viewing on iPad, open the site in Safari, then save it as a Home Screen app as detailed above. Open the "gallery!" app from your home screen.
3. You should see a touchable, swipeable list of images that have already been taken. As photos are taken, the new images will be pushed to this Web view in the background.
Note: this is currently buggy and will not work if you don't have any images taken yet. Visit this view when a few photos have been generated.
### Notes
* This was developed for OS X. I cannot help you if you're attempting to run on Windows or Linux distributions.
* Note that the `PTPCamera` daemon boots up whenever you plug in your camera. Running a `killall PTPCamera` will do the trick. Shmile automatically runs this command for you when you boot up.
### Contributing to shmile
Submit a PR to this repository. Make sure you explain what your PR is
doing and appropriate test coverage is in place.
### shmile-ui
If you're looking for the source to the JS frontend, you'll find it at the [shmile-ui](https://github.com/andrewhao/shmile-ui) repository.
#### Developing shmile without requiring a camera module
When developing on shmile, it helps to decouple the camera
subsystem from the UI so you can test end-to-end without the camera. To this end, you can supply a `STUB_CAMERA=true` environment variable. A stub camera will substitute for the gphoto2 backend.
### Credits
* gphoto/node integration was inspired by https://github.com/underbluewaters/node-photobooth
* Touch-enabled Web gallery interface courtesy of [PhotoSwipe](http://www.photoswipe.com). Fork it: https://github.com/codecomputerlove/PhotoSwipe
* shmile is a port of [boink](http://github.com/andrewhao/boink), the original Rails-based photobooth written by Glen Wong and myself.

### License
#### GPLv2
http://www.opensource.org/licenses/GPL-2.0
#### MIT
http://www.opensource.org/licenses/MIT