docs/users/certificates.md
---
id: certificates
title: Certificates
sidebar_label: Certificates
---
You'll often want to issue certificates to students when they complete a course. Pupilfirst lets you upload your own certificate design and use that as a _base image_ with which to issue certificates to students.
These certificates can also include a QR code, which links to a public page on your school's website. Students can use this link to share their certificate and allow viewers of the certificate to verify its source.

The list of available certificates in a course can be edited from the _Certificates_ sub-menu once a course is selected.
## Uploading a new certificate
To add a new certificate, use the _Create New Certificate_ option from the _Certificates_ page.

When creating a new certificate, you can give it a name (option), and then upload a _base image_. This base image must be optimized to work with Pupilfirst, and has a few requirements:
1. It must have a full empty line, with sufficient vertical space, where the student's name can be inserted. The name will always be horizontally centered when rendered over the base image.
2. If you'd like to insert a QR code, leave sufficient empty space in one of the four corners of the image.
Here's an example base image:
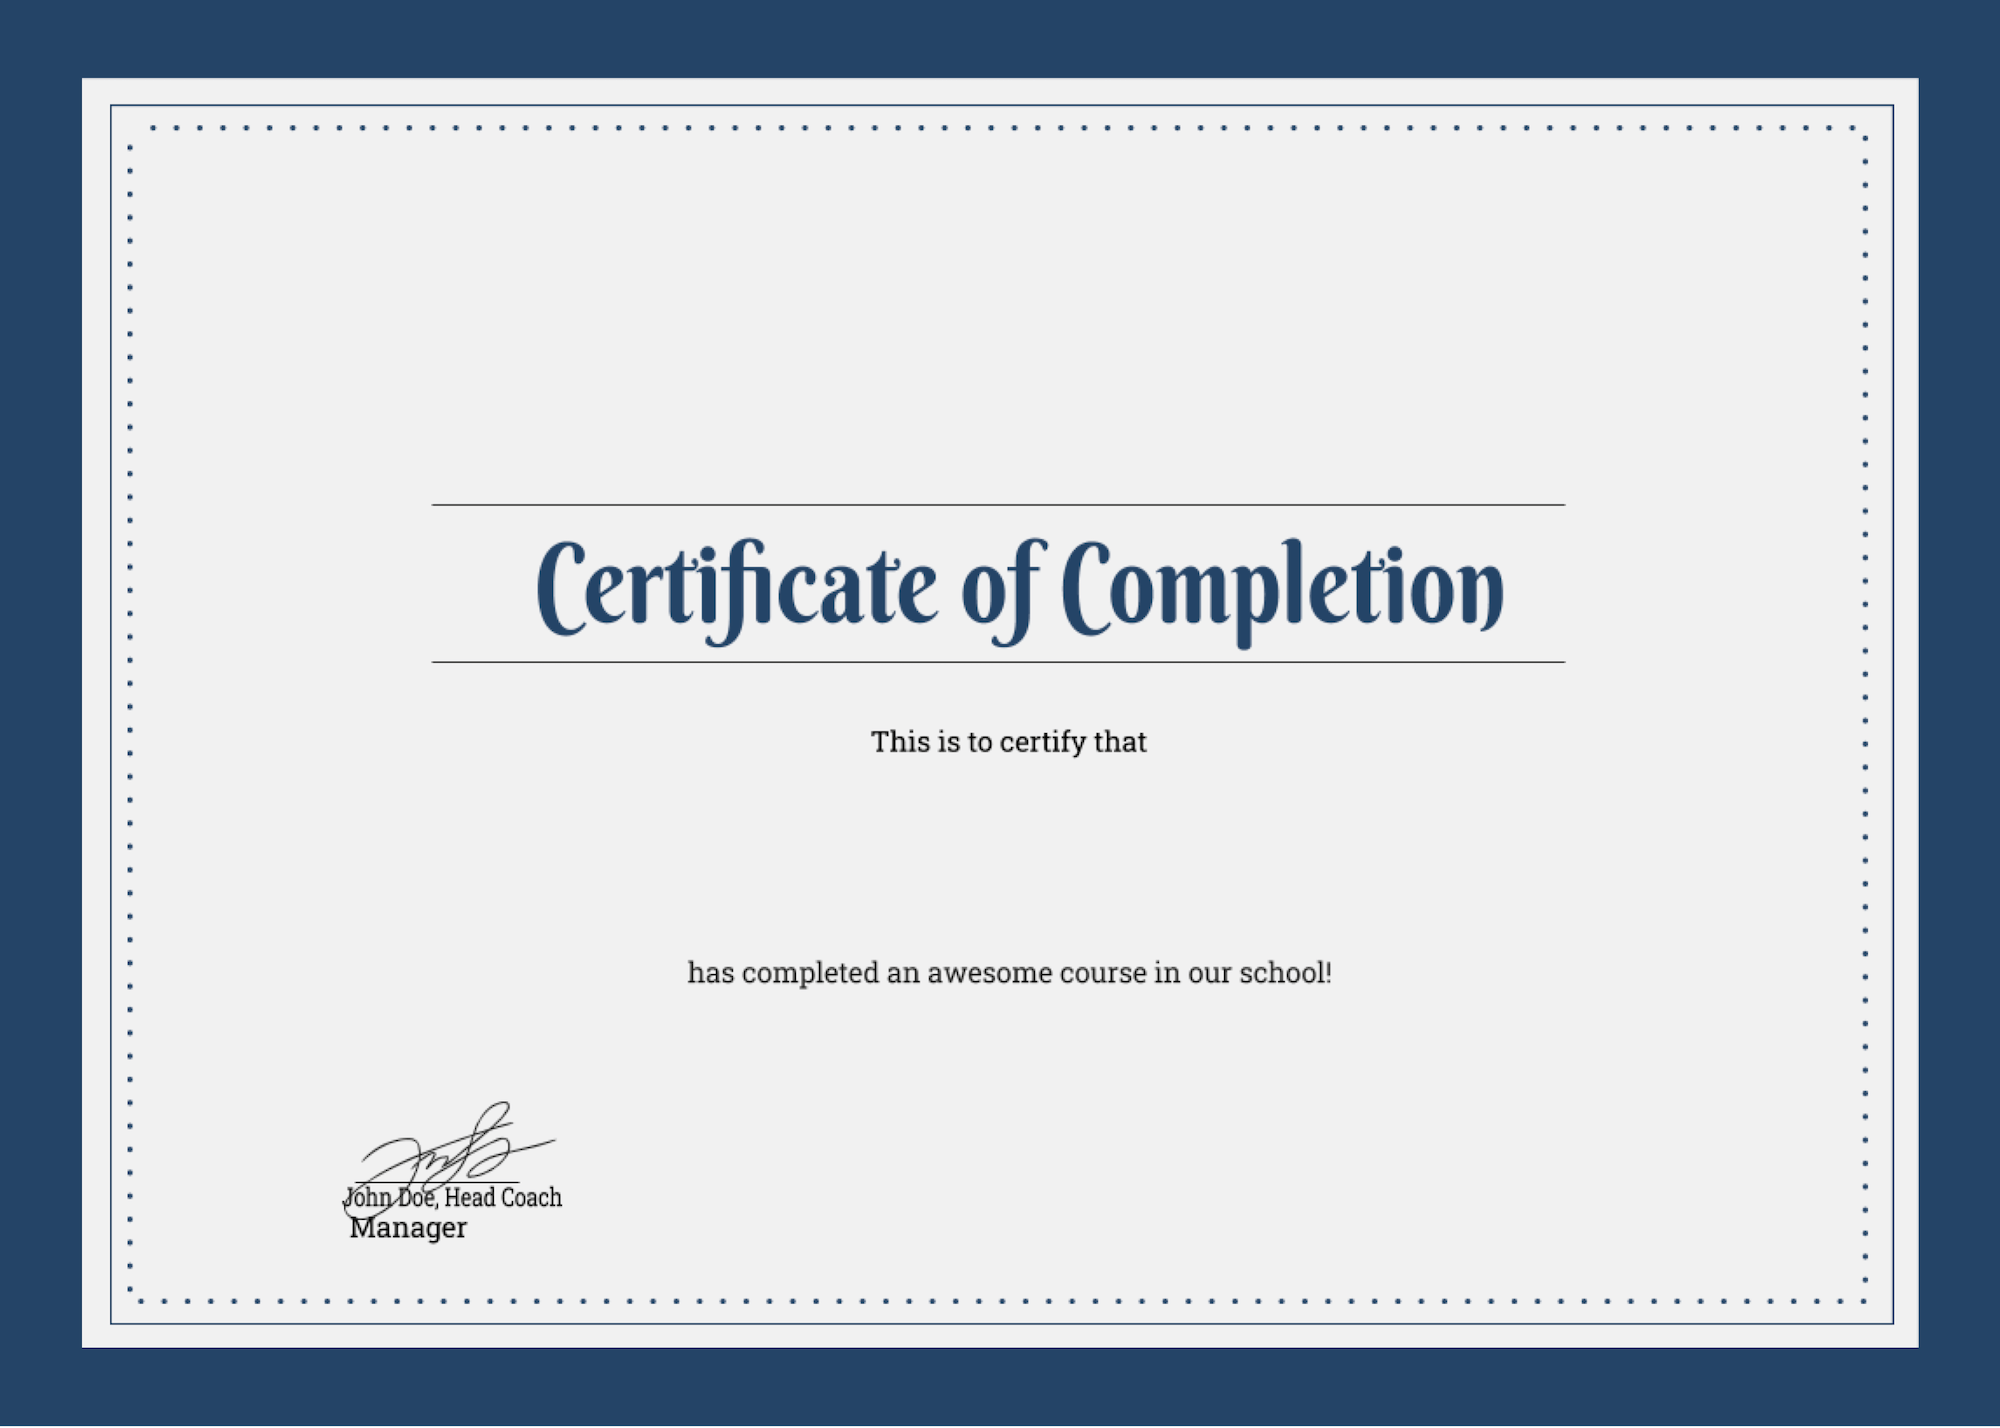
Notice how this image leaves an empty space where a student's name will be placed, and clear areas in the corners where a QR code could be placed.
Once a base image has been uploaded, you can edit the certificate to set it up to render correctly.
## Editing a certificate
To edit a certificate, click the edit icon on any of the certificates listed on the _index_.

Besides editing the name of the certificate, this interface allows you to designate a certificate to be automatically issued, and to update where and how dynamic elements are placed when it's issued.
### Automatically issuing certificates
The certificate editor allows you to designate a single certificate for automatic issuance. When this option is turned on, students who _complete_ a course will be issued this certificate.
Pupilfirst determines a student to have _completed_ a course when one the following conditions are satisfied:
1. A student submits the last _milestone_, _non-reviewed_ assignment of a course. All other milestones must have been completed (non-reviewed assignments), or have a passing grade (reviewed assignments).
2. A student's submission to the last remaining reviewed assignment is graded by a coach and given a passing grade. Similar to above, all other milestones must have been completed.
### Editing the certificate's design
The controls on the form allow you position the student's name, and the size of the font.
If you opt to show a QR code, you must pick which corner it is displayed at. You can control its size, and you may also want to set a margin so that the QR code clears any _border_ in your certificate's design.
Note that if you edit a certificate that has already been issued, the changes will also be applied to previously issued certificates. If you'd like to preserve previously issued certificates as they are, simply upload the base image again, update the design parameters, and set it to be automatically issued.