README.md
# Godmin
[](https://rubygems.org/gems/godmin)
[](https://travis-ci.org/varvet/godmin)
[](https://codeclimate.com/github/varvet/godmin)
[](https://codeclimate.com/github/varvet/godmin)
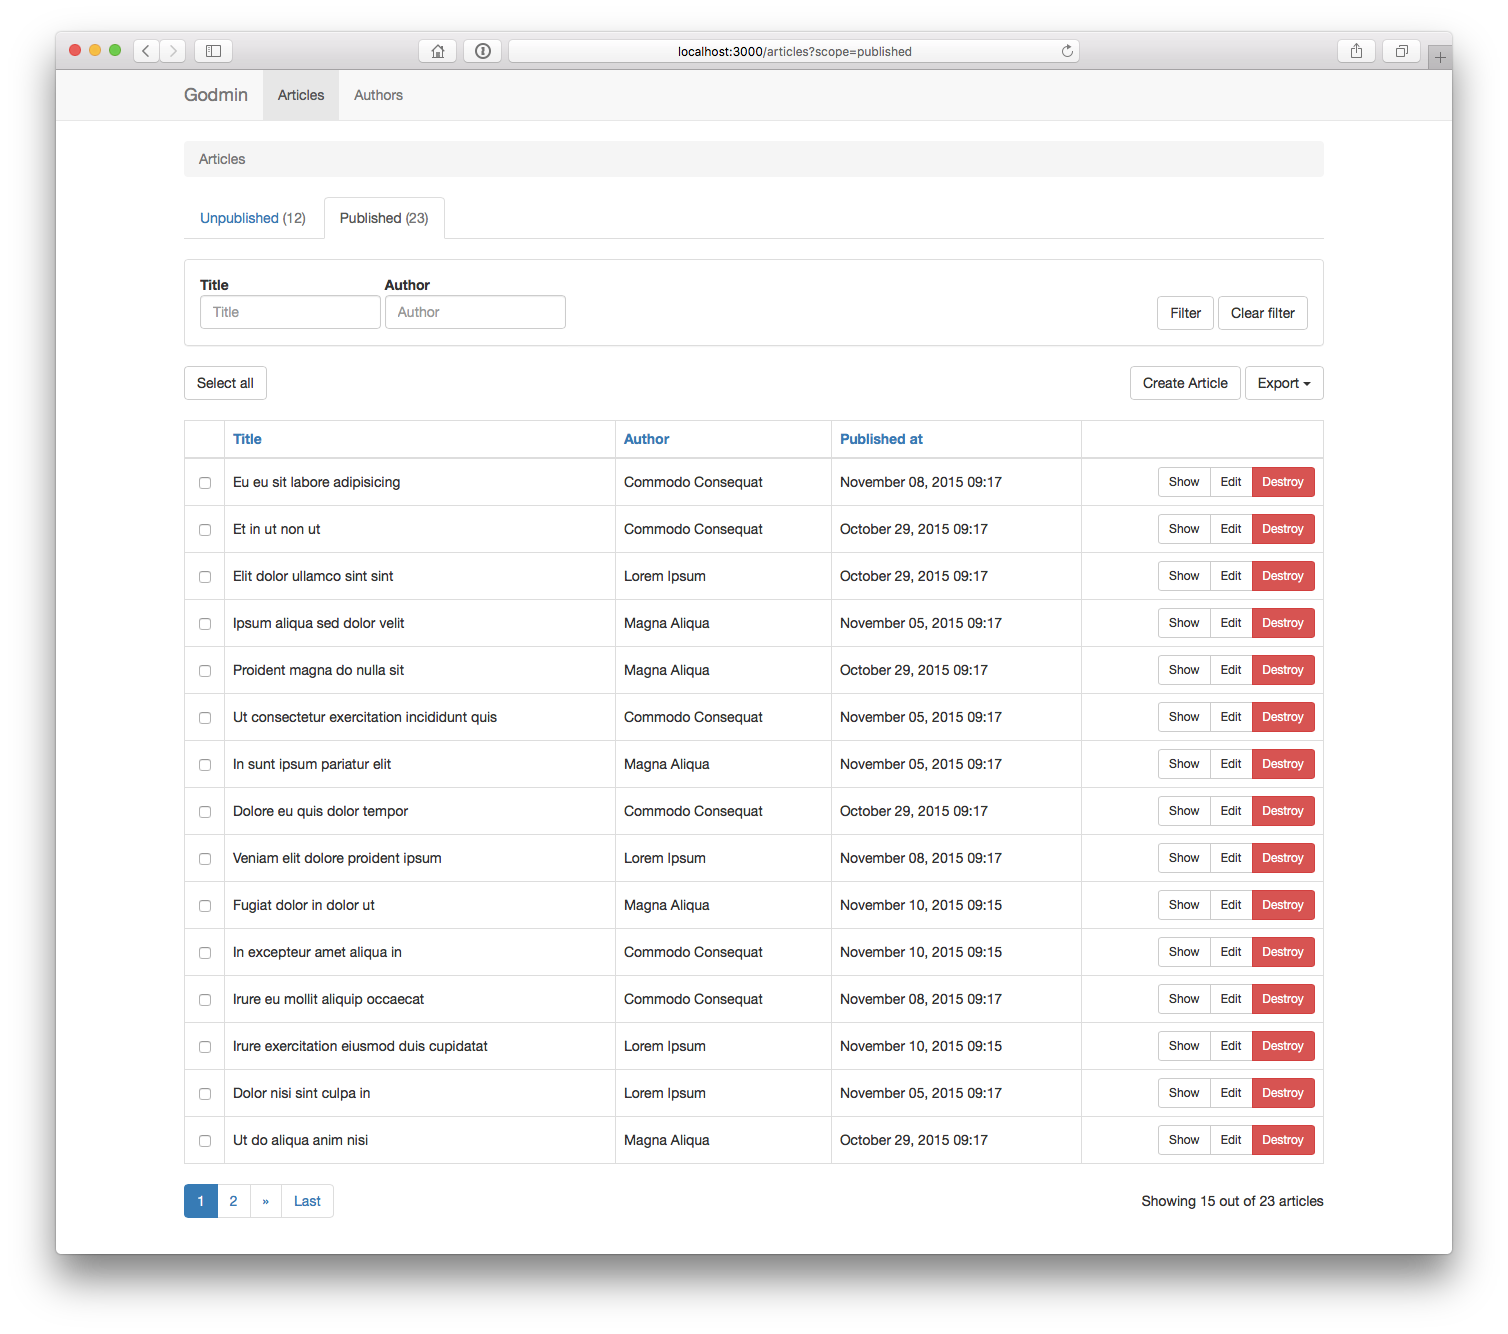
Godmin is an admin framework for Rails 5+. Use it to build dedicated admin sections for your apps, or stand alone admin apps such as internal tools. It has support for common features such as scoping, filtering and performing batch actions on your models. Check out the [demo app](http://godmin-sandbox.herokuapp.com) and its [source code](https://github.com/varvet/godmin-sandbox) to get a feel for how it works.
Godmin differs from tools like [ActiveAdmin](http://activeadmin.info/) and [RailsAdmin](https://github.com/sferik/rails_admin) in how admin sections are created. Rather than being DSL-based, Godmin is a set of opt-in modules and helpers that can be applied to regular Rails apps and engines. An admin section built with Godmin is just that, a regular Rails app or Rails engine, with regular routes, controllers and views. That means there is less to learn, because you already know most of it, and fewer constraints on what you can do. After all, administrators are users too, and what better way to provide them with a tailor made experience than building them a Rails app?
- [Installation](#installation)
- [Standalone installation](#standalone-installation)
- [Engine installation](#engine-installation)
- [Installation artefacts](#installation-artefacts)
- [Getting started](#getting-started)
- [Resources](#resources)
- [Scopes](#scopes)
- [Filters](#filters)
- [Batch actions](#batch-actions)
- [Custom ordering](#custom-ordering)
- [Resource fetching, building and saving](#resource-fetching-building-and-saving)
- [Redirecting](#redirecting)
- [Pagination](#pagination)
- [Exporting](#exporting)
- [Nested resources](#nested-resources)
- [Views](#views)
- [Forms](#forms)
- [Navigation](#navigation)
- [Authentication](#authentication)
- [Built in authentication](#built-in-authentication)
- [Shared authentication](#shared-authentication)
- [Authorization](#authorization)
- [Localization](#localization)
- [JavaScript](#javascript)
- [Plugins](#plugins)
- [Contributors](#contributors)
- [License](#license)
## Installation
Godmin supports two common admin scenarios:
1. Standalone installation
2. Engine installation
If you want to set up an example app that you can play around with, run the following:
```sh
rails new sandbox --skip-spring -m https://raw.githubusercontent.com/varvet/godmin/master/template.rb
```
### Standalone installation
Use for admin-only applications, or for architectures where the admin lives in its own app. E.g. you want to access the admin section at `localhost:3000`.
Add the gem to the application's `Gemfile`:
```ruby
gem "godmin"
```
Bundle, then run the install generator:
```sh
$ bundle install
$ bin/rails generate godmin:install
```
Godmin should be up and running at `localhost:3000`.
### Engine installation
Use when the admin is part of the same codebase as the main application. E.g. you want to access the admin section at `localhost:3000/admin`.
Generate a [mountable engine](http://guides.rubyonrails.org/engines.html):
```sh
$ bin/rails plugin new admin --mountable
```
Add the engine to the application's `Gemfile`:
```ruby
gem "admin", path: "admin"
```
Mount the engine in the application's `config/routes.rb`:
```ruby
mount Admin::Engine, at: "admin"
```
Add the gem to the engine's gemspec, `admin/admin.gemspec`:
```ruby
s.add_dependency "godmin", "~> x.x.x"
```
Bundle, then run the install generator within the scope of the engine, i.e. note the leading `admin/`:
```sh
$ bundle install
$ admin/bin/rails generate godmin:install
```
Godmin should be up and running at `localhost:3000/admin`
### Installation artefacts
Installing Godmin does a number of things to the Rails application.
The application controller is modified as such:
```ruby
class ApplicationController < ActionController::Base
include Godmin::ApplicationController
end
```
Require statements are placed in both `app/assets/javascripts/application.js` and `app/assets/stylesheets/application.css`.
If Godmin was installed inside an engine, a `require "godmin"` statement is placed in `{namespace}/lib/{namespace}.rb`.
An `app/views/shared/_navigation.html.erb` partial is created.
And finally, the `app/views/layouts` folder is removed by default, so as not to interfere with the Godmin layouts. It can be added back in case you wish to override the built in layouts.
## Getting started
Godmin deals primarily with resources. A resource is something that can be administered through the Godmin user interface, often a Rails model. Let's say the application has an `Article` model with attributes such as `title`, `body` and `published`. To get going quickly, we can use a generator:
```sh
$ bin/rails generate godmin:resource article title published
```
Or for an engine install:
```sh
$ admin/bin/rails generate godmin:resource article title published
```
This does a number of things.
It inserts a route in the `config/routes.rb` file:
```ruby
resources :articles
```
It inserts a `navbar_item` in the `app/views/shared/_navigation.html.erb` partial:
```erb
<%= navbar_item Article %>
```
If Godmin was installed inside an engine, it creates a model class:
```ruby
module Admin
class Article < ::Article
end
end
```
It creates a controller:
```ruby
class ArticlesController < ApplicationController
include Godmin::Resources::ResourceController
end
```
It creates a service object:
```ruby
class ArticleService
include Godmin::Resources::ResourceService
attrs_for_index :title, :published
attrs_for_show :title, :published
attrs_for_form :title, :published
end
```
Using `attrs_for_index` we can control what fields are displayed in the table listing, using `attrs_for_show` we can control what fields are displayed on the show page, and using `attrs_for_form` we can control what fields are available in the new and edit forms. We can, for instance, add the `body` field to `attrs_for_form` to make it appear in forms:
```ruby
attrs_for_form :title, :body, :published
```
For quick prototyping, we could build the parameters this way (if appropriate).
```ruby
attrs_for_show *Article.column_names
```
By now we have a basic admin interface for managing articles.
## Resources
As we saw in the example above, resources are divided into controllers and service objects. Actions, redirects, params permitting etc go in the controller while resource fetching, building, sorting, filtering etc go in the service object. This makes the service objects small and easy to test.
We have already seen three methods at play: `attrs_for_index`, `attrs_for_show` and `attrs_for_form`. We will now look at some additional resource concepts.
### Scopes
Scopes are a way of sectioning resources, useful for quick navigation, and can be created as follows:
```ruby
class ArticleService
include Godmin::Resources::ResourceService
scope :unpublished, default: true
scope :published
def scope_unpublished(resources)
resources.where(published: false)
end
def scope_published(resources)
resources.where(published: true)
end
end
```
### Filters
Filters offer great flexibility when it comes to searching for resources, and can be created as follows:
```ruby
class ArticleService
include Godmin::Resources::ResourceService
filter :title
def filter_title(resources, value)
resources.where("title LIKE ?", "%#{value}%")
end
end
```
There are three types of filters: `string`, `select` and `multiselect`, specified using the `as` parameter.
When using `select` or `multiselect`, a collection must be specified. The collection must conform to the format used by Rails `options_for_select` helpers. It can be either an array consisting of name/value tuples, or a collection of ActiveRecords.
```ruby
filter :category, as: :select, collection: -> { [["News", 1], ["Posts", 2]] }
```
When specifying a collection of ActiveRecords, two additional parameters, `option_text` and `option_value` can be specified. They default to `to_s` and `id` respectively.
```ruby
filter :category, as: :select, collection: -> { Category.all }, option_text: "title"
```
### Batch actions
Batch actions can be created as follows:
```ruby
class ArticleService
include Godmin::Resources::ResourceService
batch_action :publish
batch_action :unpublish
batch_action :destroy, confirm: true
def batch_action_publish(resources)
resources.each(&:publish!)
end
end
```
In addition, batch actions can be defined per scope using `only` and `except`:
```ruby
batch_action :publish, only: [:unpublished]
batch_action :unpublish, only: [:published]
```
If you wish to implement your own redirect after a batch action, it needs to be implemented in the controller:
```ruby
class ArticlesController < ApplicationController
include Godmin::Resources::ResourceController
private
def redirect_after_batch_action_publish
articles_path(scope: :published)
end
end
```
If you are using Godmin's built in authorization functionality you must [authorize your batch actions in your policy](#batch-action-authorization).
### Custom ordering
By default, Godmin supports ordering of database columns in the index view table. However, it cannot automatically sort associations, custom attributes and so on.
If you want to order something that Godmin doesn't support out of the box, or you just want to customize how a columns is ordered, you can implement your own ordering functionality in the service object by creating a `order_by_<attribute>` method.
```ruby
class ArticleService
include Godmin::Resources::ResourceService
attrs_for_index :title, :author
# resources is an ActiveRecord::Relation object
# direction is the order direction ("asc" or "desc")
def order_by_author(resources, direction)
resources.joins(:authors).order("authors.name #{direction}")
end
end
```
### Resource fetching, building and saving
Resources are made available to the views through instance variables. The index view can access the resources using `@resources` while show, new and edit can access the single resource using `@resource`. In addition, the resource class is available as `@resource_class` and the service object is available as `@resource_service`.
In order to modify resource fetching and construction, these methods can be overridden per resource service:
- `resource_class`
- `resources_relation`
- `resources`
- `find_resource`
- `build_resource`
- `create_resource`
- `update_resource`
- `destroy_resource`
To change the class name of the resource from the default based on the service class name:
```ruby
class ArticleService
include Godmin::Resources::ResourceService
def resource_class
FooArticle
end
end
```
To scope resources for quering and building, e.g. based on the signed in user:
```ruby
class ArticleService
include Godmin::Resources::ResourceService
# The signed in admin user is available to all service objects via the options hash
def resources_relation
super.where(user: options[:admin_user])
end
end
```
To add to the index page resources query, e.g. to change the default order:
```ruby
class ArticleService
include Godmin::Resources::ResourceService
def resources(params)
super(params).order(author: :desc)
end
end
```
To change the way a resource is fetched for `show`, `edit`, `update` and `destroy` actions:
```ruby
class ArticleService
include Godmin::Resources::ResourceService
def find_resource(id)
resources_relation.find_by(slug: id)
end
end
```
To change the way a resource is constructed for `new` and `create` actions:
```ruby
class ArticleService
include Godmin::Resources::ResourceService
def build_resource(_params)
article = super
article.setup_more_things
article
end
end
```
To change the way a resource is saved in the `create` action:
```ruby
class ArticleService
include Godmin::Resources::ResourceService
# This method should return true or false
def create_resource(resource)
resource.save_in_some_interesting_way
end
end
```
To change the way a resource is saved in the `update` action:
```ruby
class ArticleService
include Godmin::Resources::ResourceService
# This method should return true or false
def update_resource(resource, params)
resource.assign_attributes(params)
resource.save_in_some_interesting_way
end
end
```
To change the way a resource is destroyed in the `destroy` action:
```ruby
class ArticleService
include Godmin::Resources::ResourceService
def destroy_resource(resource)
resource.paranoid_destroy
end
end
```
#### Strong parameters
When using `attrs_for_form`, parameters are automatically permitted. If building a custom form, see the [forms](#forms) section, parameters can be permitted by overriding the `resource_params` method in the controller:
```ruby
class ArticlesController < ApplicationController
include Godmin::Resources::ResourceController
private
def resource_params
params.require(:article).permit(:title, :body)
end
end
```
#### Passing parameters to the service object
Sometimes you want to pass additional params to the service object, other that those passed in `resource_params`. In order to do this, you need to pass them along when initializing the service object in the controller:
```ruby
class ArticlesController < ApplicationController
include Godmin::Resources::ResourceController
private
def resource_service
service = super
service.options[:some_param] = params[:some_param]
service
end
end
```
You can then access it from the service object:
```ruby
class ArticleService
include Godmin::Resources::ResourceService
def some_method
options[:some_param]
end
end
```
### Redirecting
By default the user is redirected to the resource show page after create and update, and to the index page after destroy. To change this, there are four controller methods that can be overridden: `redirect_after_create`, `redirect_after_update`, `redirect_after_save`, and `redirect_after_destroy`.
For instance, to have the article controller redirect to the index page after both create and update:
```ruby
class ArticlesController < ApplicationController
include Godmin::Resources::ResourceController
private
def redirect_after_save
articles_path
end
end
```
Or, to have the article controller redirect to the index page after create and the edit page after update:
```ruby
class ArticlesController < ApplicationController
include Godmin::Resources::ResourceController
private
def redirect_after_create
articles_path
end
def redirect_after_update
edit_article_path(@resource)
end
end
```
If you wish to change the behaviour for every resource controller, consider creating a common resource controller that your other controllers can inherit from:
```ruby
class ResourceController < ApplicationController
include Godmin::Resources::ResourceController
private
def redirect_after_save
resource_class.model_name.route_key.to_sym
end
end
```
### Pagination
If you wish to change the number of resources per page, you can override the `per_page` method in the service object:
```ruby
class ArticlesService
include Godmin::Resources::ResourceService
def per_page
50
end
end
```
### Exporting
The `attrs_for_export` method in the service object makes it possible to mark attributes or methods on the model as exportable. When implemented, an export button will appear on the index page with options for both CSV and JSON export.
```ruby
class ArticlesService
include Godmin::Resources::ResourceService
attrs_for_export :id, :title, :created_at, :updated_at
end
```
### Nested resources
Nested resources can be implemented by nesting your routes:
```ruby
resources :blogs do
resources :blog_posts
end
```
This will set up scoping of the nested resource as well as correct links in the breadcrumb.
If you want to add a link to the nested resource from the parent's show and edit pages, you can add the following to the service object:
```ruby
class BlogService
include Godmin::Resources::ResourceService
has_many :blog_posts
end
```
Otherwise, simply add links as you see fit using partial overrides.
## Views
It's easy to override view templates and partials in Godmin, both globally and per resource. All you have to do is place a file with an identical name in your `app/views` directory. For instance, to override the `godmin/resource/index.html.erb` template for all resources, place a file under `app/views/resource/index.html.erb`. If you only wish to override it for articles, place it instead under `app/views/articles/index.html.erb`.
You can also inherit from the default template as such:
```erb
<%= render template: "godmin/resource/show" %>
<p>Append stuff here</p>
```
If you wish to customize the content of a table column, you can place a partial under `app/views/{resource}/columns/{column_name}.html.erb`, e.g. `app/views/articles/columns/_title.html.erb`. The resource is available to the partial through the `resource` variable.
The full list of templates and partials that can be overridden [can be found here](https://github.com/varvet/godmin/tree/master/app/views/godmin).
### Forms
Oftentimes, the default form provided by Godmin doesn't cut it. The `godmin/resource/_form.html.erb` partial is therefore one of the most common to override per resource.
Godmin comes with its own FormBuilder that automatically generates bootstrapped markup. It is based on the [Rails Bootstrap Forms](https://github.com/bootstrap-ruby/rails-bootstrap-forms) FormBuilder, and all its methods are directly available. In addition it has a few convenience methods that can be leveraged.
The `input` method will automatically detect the type of field from the database and generate an appropriate form field:
```ruby
form_for @resource do |f|
f.input :attribute
end
```
### Navigation
Godmin comes with built in view helpers for generating the navbar.
The `navbar_item` helper generates a link in the navbar. It can be used in a number of different ways.
```ruby
# Links to the index page of the article resource
navbar_item Article
# Links to a custom path with a custom link text
navbar_item Article, articles_path(scope: :published) do
"Published articles"
end
# Links to a custom path with a custom link text without specifying resource
navbar_item "Some text", some_path
```
The `show` option can be passed a proc that evaluates to true or false. This is used to control if the link should be shown or not. By default it checks against the resource policy object if authorization is enabled.
```ruby
navbar_item Article, show: -> { show? }
```
The `icon` option can be passed a glyphicon:
```ruby
navbar_item Article, icon: "book"
```
The `navbar_dropdown` and `navbar_divider` helpers can be used to build dropdown menus.
```ruby
navbar_dropdown "Multiple things" do
navbar_item Article
navbar_item Comment
navbar_divider
navbar_item User
end
```
## Authentication
Multiple authentication scenarios are supported. Godmin comes with a lightweight built in authentication solution that can be used to sign in to the admin section via the admin interface. In addition, when running an admin engine, it is possible to set up a shared authentication solution so that administrators can sign in via the main app.
### Built in authentication
This example uses the built in authentication solution. Authentication is isolated to the admin section and administrators sign in via the admin interface.
Godmin comes with a generator that creates an admin user model and enables the built in authentication:
```sh
$ bin/rails generate godmin:authentication
$ bin/rake db:migrate
```
Please note: when installing to an admin engine, the migration needs to be moved to the main app before it can be found by `db:migrate`. Rails has a solution in place for this:
```sh
$ admin/bin/rails generate godmin:authentication
$ bin/rake admin:install:migrations
$ bin/rake db:migrate
```
A model is generated:
```ruby
class AdminUser < ActiveRecord::Base
include Godmin::Authentication::User
def self.login_column
:email
end
end
```
By default the user model is called `AdminUser`. If you'd like to change this, you can pass an argument to the authentication generator:
```
$ bin/rails generate godmin:authentication SuperUser
or for an engine:
$ admin/bin/rails generate godmin:authentication SuperUser
```
By default the model is generated with an `email` field as the login column. This can changed in the migration prior to migrating if, for instance, a `username` column is more appropriate.
The following route is generated:
```ruby
resource :session, only: [:new, :create, :destroy]
```
Along with a sessions controller:
```ruby
class SessionsController < ApplicationController
include Godmin::Authentication::SessionsController
end
```
Finally, the application controller is modified:
```ruby
class ApplicationController < ActionController::Base
include Godmin::ApplicationController
include Godmin::Authentication
def admin_user_class
AdminUser
end
end
```
Authentication is now required when visiting the admin section.
### Shared authentication
This example uses [Devise](https://github.com/plataformatec/devise) to set up a shared authentication solution between the main app and an admin engine. Administrators sign in and out via the main application.
There is no need to run a generator in this instance. Simply add the authentication module to the admin application controller like so:
```ruby
module Admin
class ApplicationController < ActionController::Base
include Godmin::ApplicationController
include Godmin::Authentication
end
end
```
Provided you have `User` model set up with Devise in the main application, override the following three methods in the admin application controller:
```ruby
module Admin
class ApplicationController < ActionController::Base
include Godmin::ApplicationController
include Godmin::Authentication
def authenticate
authenticate_user!
end
def admin_user
current_user
end
def admin_user_signed_in?
user_signed_in?
end
end
end
```
The admin section is now authenticated using Devise.
### Disable authentication
If you want to disable authentication for a single controller or controller action, use the following `before_action`:
```ruby
class ArticlesController < ApplicationController
prepend_before_action :disable_authentication
end
```
## Authorization
In order to enable authorization, authentication must first be enabled. See the previous section. The Godmin authorization system uses [Pundit](https://github.com/elabs/pundit).
Add the authorization module to the application controller:
```ruby
class ApplicationController < ActionController::Base
include Godmin::ApplicationController
include Godmin::Authentication
include Godmin::Authorization
...
end
```
Policies can be generated using the following command:
```sh
$ bin/rails generate godmin:policy article
```
This file `app/policies/article_policy.rb` will be created:
```ruby
class ArticlePolicy < Godmin::Authorization::Policy
end
```
Permissions are specified by implementing methods on this class. Two methods are available to the methods, `user` and `record`, the signed in user and the record being authorized. An implemented policy can look something like this:
```ruby
class ArticlePolicy < Godmin::Authorization::Policy
def index?
true
end
def show?
true
end
def create?
user.editor?
end
def update?
user.editor? && record.unpublished?
end
def destroy?
update?
end
def batch_action_destroy?
destroy?
end
end
```
That is, everyone can list and view articles, only editors can create them, and only unpublished articles can be updated and destroyed.
### Handle unauthorized access
When a user is not authorized to access a resource, a `Pundit::NotAuthorizedError` is raised. By default this error is rescued by Godmin and turned into a status code `403 Forbidden` response. If you want to change this behaviour you can rescue the error yourself in the appropriate `ApplicationController`:
```ruby
class ApplicationController < ActionController::Base
include Godmin::ApplicationController
include Godmin::Authentication
include Godmin::Authorization
# Renders 404 page and returns status code 404.
rescue_from Pundit::NotAuthorizedError do
render file: "#{Rails.root}/public/404.html", status: 404, layout: false
end
end
```
### Override policy object
If you wish to specify what policy to use manually, override the following method in your model. It does not have to be an ActiveRecord object, but any object will do.
```ruby
class Article
def policy_class(_record)
FooArticlePolicy
end
end
```
### Batch action authorization
Batch actions must be authorized in your policy if you are using Godmin's built in authorization functionality. The policy method is called with the relation containing all records to be processed.
```ruby
class ArticlePolicy < Godmin::Authorization::Policy
def batch_action_destroy?
record.all? { |r| r.user_id == user.id }
end
end
```
### Disable authorization
If you want to disable authorization for a single controller or controller action, use the following `before_action`:
```ruby
class ArticlesController < ApplicationController
prepend_before_action :disable_authorization
end
```
### Authorization in Engines
When Godmin is installed as an engine, it expects policies to be defined
within the engine: eg. `Admin::ArticlePolicy` defined in
`admin/app/policies/article_policy.rb`.
If your admin application is itself broken up into several engines, then
either
1. the policies for those engines need to live in the main engine, or
2. those engines need to be namespaced under the namespace of the main engine.
Here is one example of a directory structure for approach 2:
```
admin
├── app
│ └── policies
│ └── admin
│ └── article_policy.rb
└── engines
└── content
└── policies
└── admin
└── content
└── text_block_policy.rb
app
└── models
└── article.rb
engines
└── content
└── models
└── content
└── text_block.rb
```
```ruby
# admin/engines/content/policies/admin/content/text_block_policy.rb
module Admin
module Content
class TextBlockPolicy < ::Admin::ApplicationPolicy
end
end
end
```
## Localization
Godmin supports localization out of the box. For a list of translatable strings, [look here](https://github.com/varvet/godmin/blob/master/config/locales/en.yml).
Strings can be translated both globally and per resource, similar to how views work. For instance, to translate the `godmin.batch_actions.buttons.select_all` string globally:
```yml
godmin:
batch_actions:
buttons:
select_all: {translation}
```
Or, translate for a specific resource:
```yml
godmin:
article:
batch_actions:
buttons:
select_all: {translation}
```
In addition, all scopes, filters and batch actions that are added, can be localized:
```yml
godmin:
article:
batch_actions:
labels:
publish: {translation}
unpublish: {translation}
filters:
labels:
title: {translation}
scopes:
labels:
unpublished: {translation}
published: {translation}
```
Godmin comes with built in support for English and Swedish.
There is a view helper available named `translate_scoped` that can be used in overridden views. Please see the source code for information on how to use it.
## JavaScript
Godmin comes with a small set of JavaScript components and APIs.
### Datetimepickers
Make a [bootstrap-datetimepicker](https://github.com/Eonasdan/bootstrap-datetimepicker) out of a text field:
```ruby
f.date_field :date
f.datetime_field :date
```
If the field is added post page render, it can be initialized manually:
```js
Godmin.Datetimepickers.initializeDatepicker($el);
Godmin.Datetimepickers.initializeTimepicker($el);
Godmin.Datetimepickers.initializeDatetimepicker($el);
```
Additional options can be passed down to bootstrap-datetimepicker:
```js
Godmin.Datetimepickers.initializeDatetimepicker($el, {
useMinutes: false,
useSeconds: false
});
```
If you wish to translate the datetimepicker, change `moment/en-gb` in your `app/assets/javascripts/application.js` to your desired locale:
```js
//= require moment
//= require moment/{locale} // e.g. moment/sv
//= require godmin
```
Please note that the datepickers default to en-GB, not en-US, because Rails cannot automatically parse en-US dates.
To use an alternative format, use the format option.
```js
Godmin.Datetimepickers.initializeDatepicker($elems, {
format: 'YYYY-MM-DD'
});
```
### Select boxes
Make a [selectize.js](http://brianreavis.github.io/selectize.js/) select box out of a text field or select box:
```ruby
f.select :authors, Author.all, {}, data: { behavior: "select-box" }
f.text_field :tag_list, data: { behavior: "select-box" }
```
If you want to change the text that appears when an option does not exist and will be created, set the data attribute `data-add-label`.
```ruby
f.text_field :tag_list, data: { behavior: "select-box", add_label: "Create:" }
#=> Create: foobar...
```
If the field is added post page render, it can be initialized manually:
```js
Godmin.SelectBoxes.initializeSelectBox($el);
```
Additional options can be passed down to selectize:
```js
Godmin.SelectBoxes.initializeSelectBox($el, {
create: true
});
```
## Plugins
Some additional features are available as plugins:
- [Godmin Uploads](https://github.com/varvet/godmin-uploads)
- [Godmin Tags](https://github.com/varvet/godmin-tags)
- [Godmin Redactor](https://github.com/varvet/godmin-redactor)
## Contributors
https://github.com/varvet/godmin/graphs/contributors
## License
Licensed under the MIT license. See the separate MIT-LICENSE file.