docs/README.md
# Vudash
[](https://gitter.im/vudash/vudash-core?utm_source=badge&utm_medium=badge&utm_campaign=pr-badge&utm_content=badge) [](https://travis-ci.org/vudash/vudash) [](http://standardjs.com/)
[](https://www.codacy.com/app/ant/vudash?utm_source=github.com&utm_medium=referral&utm_content=vudash/vudash&utm_campaign=Badge_Grade)
[](https://codeclimate.com/github/vudash/vudash/maintainability)
[](https://www.codefactor.io/repository/github/vudash/vudash)
A dashboard, like dashing, but written in NodeJS.
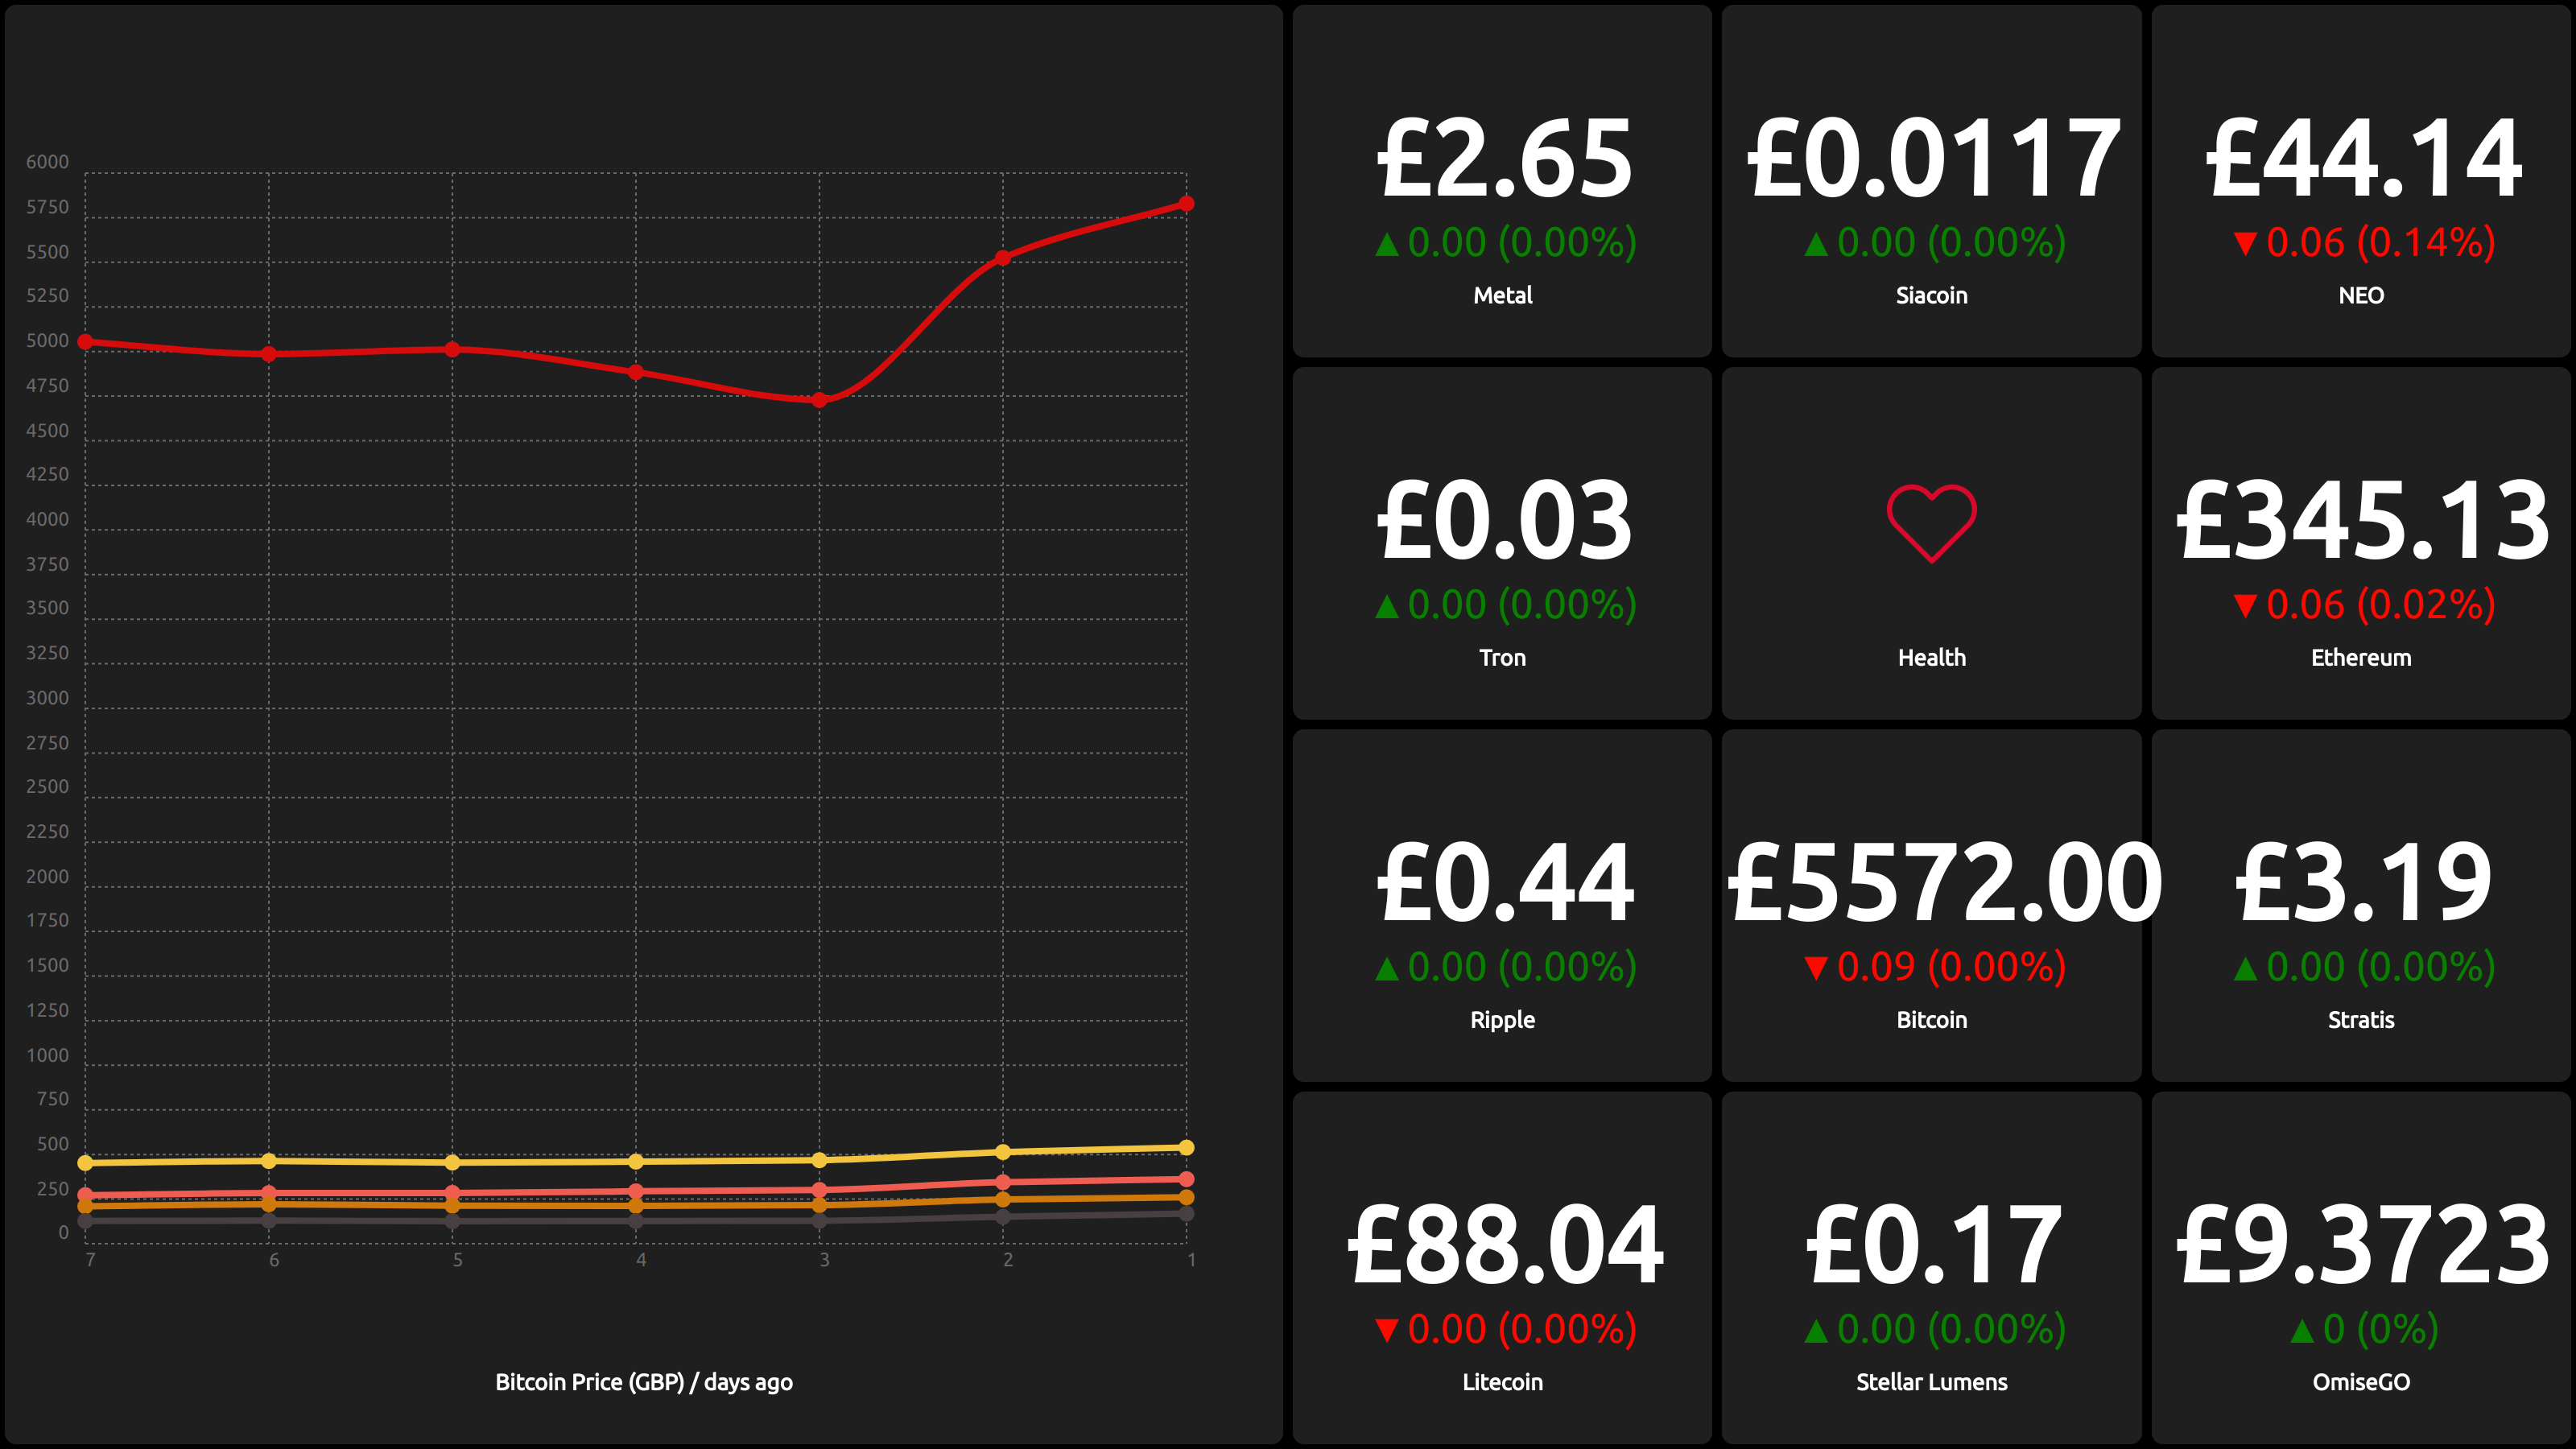
Vudash open source component
Writen using hapijs, lab, material ui, socket.io, lerna, and svelte
# Quick start
In so few lines:
```bash
npm install -g vudash
vudash create
vudash
```
# Usage
Install as a global module `npm install -g vudash` and use `vudash create` to create an example dashboard.
Add new widgets under `/widgets` and add them to your dashboard under `/dashboards`.
You can visit your created dashboard by visiting http://localhost:3300/`dashboard`.dashboard - where `dashboard` is the name of a JSON file within the `/dashboards` directory.
Visiting the root of the application will yield a list of all available dashboards, unless the environment variable `DEFAULT_DASHBOARD` is set, in which case that dashboard will be loaded instead. Other dashboards will still be available via the normal methods.
# Screenshots

# Demo
- [Demo Dashboard](http://vudash.herokuapp.com/demo.dashboard)
- [Crypto Dashboard](http://vudash.herokuapp.com/crypto.dashboard)
If, like me, you learn by example rather than reams of documentation, check out the [Demo Dashboard's Configuration](https://github.com/vudash/vudash-demo/blob/master/dashboards/demo.json) on github. You can then clarify any questions using the documentation below.
# Dashboards
A dashboard is a collection of widgets separated into rows and columns.
## Creating Dashboards
Dashboards are in JSON format and take the form:
```javascript
{
"name": "Happy",
"layout": {
"columns": 5,
"rows": 4
},
"datasources": {
"datasource-exchange-rates": {
"module": "@vudash/datasource-rest",
"schedule": 30000,
"options": {
"url": "http://exchangerat.es/api/v1/rates",
"method": "get",
"graph": "rates.GBP"
}
}
},
"widgets": [
{ "position": {"x": 0, "y": 0, "w": 1, "h": 1}, "widget": "./widgets/random" },
{ "position": {"x": 3, "y": 0, "w": 2, "h": 1}, "widget": "vudash-widget-time" },
{ "position": {"x": 4, "y": 1, "w": 1, "h": 1}, "widget": "./widgets/github" },
{ "position": {"x": 0, "y": 1, "w": 2, "h": 1},
"widget": "vudash-widget-statistic",
"datasource": "datasource-exchange-rates",
"history": 100,
"options": {
"description": "EUR -> GBP",
}
},
{
"position": {"x": 4, "y": 2, "w": 1, "h": 1},
"widget": "@vudash/widget-ci",
"options": {
"schedule": 60000,
"user": "vudash",
"repo": "vudash-widget-ci"
}
}
]
}
```
Where 'widgets' is an array of widgets. The position in the grid (specified by `layout`) is indicated by the widget's `x` and `y` `position` values.
The values for `position.w` and `position.h` are the number of grid units the widget occupies in width and height, respectively.
The `history` attribute of a widget defines how many historical items a widget should store (i.e. where history is `X`, the widget will store `X` previous values) - the value history can be read by widgets, and used in things like graphs.
Widgets can be either a path to a directory containing a widget (see below), or an npm module of the same. If the widget is a npm module, you would need to `npm install --save <widget-name>` first.
### Environment variables
You can use environment variables in your dashboard or widget configuration:
```javascript
{
"position": { ... },
"widget": "@vudash/widget-ci",
"options": {
"user": "vudash",
"repo": "vudash-widget-ci",
"auth": {
"$env": "ENVIRONMENT_VARIABLE_NAME"
}
}
}
```
Where the value of `auth` in the configuration will be replaced with the contents of the environment variable `ENVIRONMENT_VARIABLE_NAME`.
## Custom CSS
You can add to (or override) the CSS for a dashboard, using the `css` attribute in your dashboard's json configuration.
Because the dashboard configuration is in JSON format, your CSS must be too, and uses the [json-to-css package](https://www.npmjs.com/package/json-to-css) to transform json into minified CSS.
As a (rather ugly) example, lets change the dashboard's background colour to red.
```javascript
{
"name": "dashboard-with-custom-css",
"layout": { ... },
"css": {
"body": {
"background-color": "red"
}
},
"datasources": { ... },
"widgets": [ ... ]
}
```
As you can see, the hash under `css` follows the basic format of css, and is rendered into the dashboard after all the default vudash, and widget generated CSS.
# Widgets
Widgets are configured as an array in the `dashboard.json` file, in the format:
```javascript
"widgets": [
{
"widget": "./widgets/pluck", // widget file path, node module name, or class definition
"datasource": "datasource-xyz", // name of a datasource listed in `datasources`
"position": {
"x": 1, // x position (row number) of widget
"y": 1, // y position (column number) of widget
"w": 1, // widget width in columns
"h": 1 // widget height in columns
},
"options": { // widget specific config
"your" : "config"
}
}
]
```
Widgets have some optional properties:
| property name | description | example |
| ------------- | ------------------------------------ | ------- |
| background | css for "background" style attribute | #ffffff |
For a list of built in widgets, see [Widgets](widgets/).
For developing widgets see [Developing Widgets](developers/?id=developing-widgets).
# Datasources
Unless a widget specifies its own data fetching method, data is fetched by a datasource.
Datasources are specified as a hash in the `dashboard.json` as follows:
```javascript
{
"datasources": {
"datasource-id": { // can be anything as long as it is unique
"module": "../datasource-random", // as with widgets, a node module name or directory
"schedule": 1000, // how often (in ms) the datasource should be refreshed
"options": { // options for the datasource
"method": "string"
}
}
}
}
```
Each refresh, the datasource will fetch new data, and tell all widgets that listen to it about the new data.
For a list of built in datasources, see [Datasources](datasources/).
For developing datasources see [Developing Datasources](developers/?id=developing-datasources).
# Configuration
When running the server, a number of environment variables are available:
| environment variable | description | default value |
| ------------------------- | ---------------------------------------------------------------------- | ------------- |
| DEFAULT_DASHBOARD | specify default dashboard to mount at / | none |
| DISCONNECT_RELOAD_TIMEOUT | default number of milliseconds to wait to reload if server disconnects | 30000 |
| API_KEY | api key used to access the vudash api | (random) |
| SERVER_URL | external server url (for when node can't resolve it by itself) | (inferred) |
# Tips and tricks
## Securing your dashboard with basic auth
Want to protect your dashboard from the public eye? You can secure it with basic auth in a few steps:
1. Install basic-auth and http-proxy modules:
```javascript
npm i -S basic-auth http-proxy
```
2. Change the start script in package.json
```json
{
"scripts": {
"start": "node ./proxy"
}
}
```
3. Create a simple proxy server called `proxy.js` in your project's root directory
```javascript
'use strict'
const http = require('http')
const httpProxy = require('http-proxy')
const auth = require('basic-auth')
const proxy = httpProxy.createProxyServer()
function verify (credentials) {
const user = process.env.BASIC_AUTH_NAME
const pass = process.env.BASIC_AUTH_PASS
return credentials && credentials.name === user && credentials.pass === pass
}
http.createServer((req, res) => {
const credentials = auth(req)
if (verify (credentials)) {
return proxy.web(req, res, {
target: 'http://localhost:3300'
})
}
res.statusCode = 401
res.setHeader('WWW-Authenticate', 'Basic realm="example"')
res.end('Access denied')
}).listen(process.env.PORT)
process.env.PORT = 3300
require('vudash')
```
4. When you run the project, don't forget your credentials:
```bash
BASIC_AUTH_NAME=username BASIC_AUTH_PASS=password npm run start
```
# Troubleshooting
* Q. The console shows that the websocket is failing to connect, and my widgets aren't updating.
* A. Your hosting provider might not be correctly reporting the external vhost of the server. Add an environment variable `SERVER_URL` with the full url to your server, i.e: `http://www.example.com/`
# Contributing
## Running Tests
Vudash > 5 is a monorepo! This makes it easier to contribute, and keep track of all the native plugins.
Clone the project and run:
```
lerna bootstrap
lerna run test
```
# Why create Vudash?
* I'll get to the point. I like dashing, but I don't like ruby.
* Both Dashing and Dashing-js are stellar efforts, but abandoned.
* Jade is an abomination.
* Coffeescript is an uneccessary abstraction.
* dashing-js has a lot of bugs
# Features
* will happily run on heroku, now.sh, or any other hosting you fancy.
* es6
* all cross-origin requests done server side
* websockets rather than polling
* websocket fallback to long-poll when sockets aren't available
* Custom widgets
* Custom dashboards
* Simple row-by-row layout
* Super simple widget structure
# Roadmap
- now.sh 5-second howto
- You, sending Pull Requests.
- Plugins
# Credits
- Concept and foundation by Antony Jones / Desirable Objects Ltd
- Contributions from github committers
- Contains svg imagery from flaticons, by [Gregor Cresnar](http://www.flaticon.com/authors/gregor-cresnar), [Vectors Market](http://www.flaticon.com/authors/vectors-market)
- Various fixes and improvements by [Alex Voigt](https://github.com/alex-voigt)